Instructions for creating Pixel and sharing Pixel in Bm
Writing date: 2023-11-06 13:37:36
Step-by-Step Guide to Creating and Sharing a Facebook Pixel in Business Manager
Unlock the full potential of your Facebook ad campaigns with precise tracking using Facebook Pixel. Here’s how you can create and share your Facebook Pixel within Business Manager, ensuring accurate data collection for optimized marketing strategies.
How to Create a Facebook Pixel in Business Manager
Step 1: Access Business Manager
- Log in to your Business Manager account.
- Navigate to the Business Manager homepage at business.facebook.com.
Step 2: Enter Business Settings
- Click on the gear icon in the upper right corner to go to "Business Settings."
Step 3: Create Your Pixel
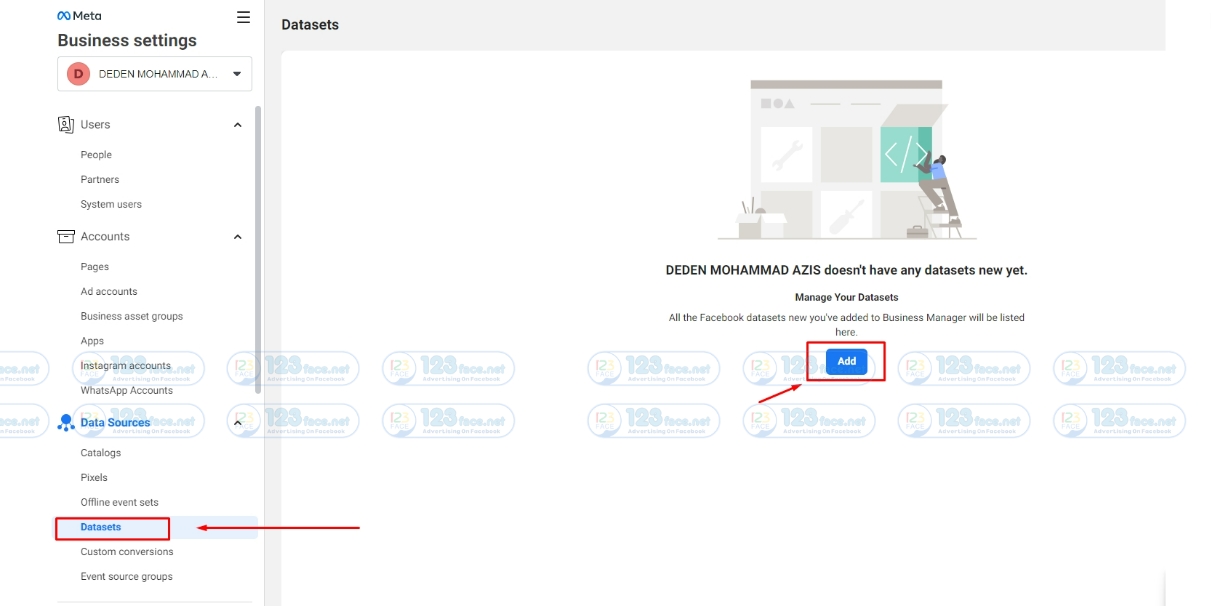
- In the left menu, locate and select "Data Sources" then "Pixels."
- Click the "Add" button and choose "Add a New Pixel."
- Name your Pixel, add your website URL for setup checking (optional), and click "Continue."
Step 4: Install Pixel
- Follow the provided instructions to implement the Pixel code onto your website. You can opt to manually install the code, use a plugin or tag manager, or email the instructions to your web developer.
How to Share a Facebook Pixel in Business Manager
Step 1: Access Your Pixel
- In "Business Settings," under "Data Sources," select "Pixels."
Step 2: Select the Pixel to Share
- Choose the Pixel you wish to share from the list.
Step 3: Add Users or Partners
- Click "Add People" if you want to share with specific individuals within your Business Manager.
- Select the user and assign either "Admin" or "Employee" access depending on the level of permissions you want to grant.
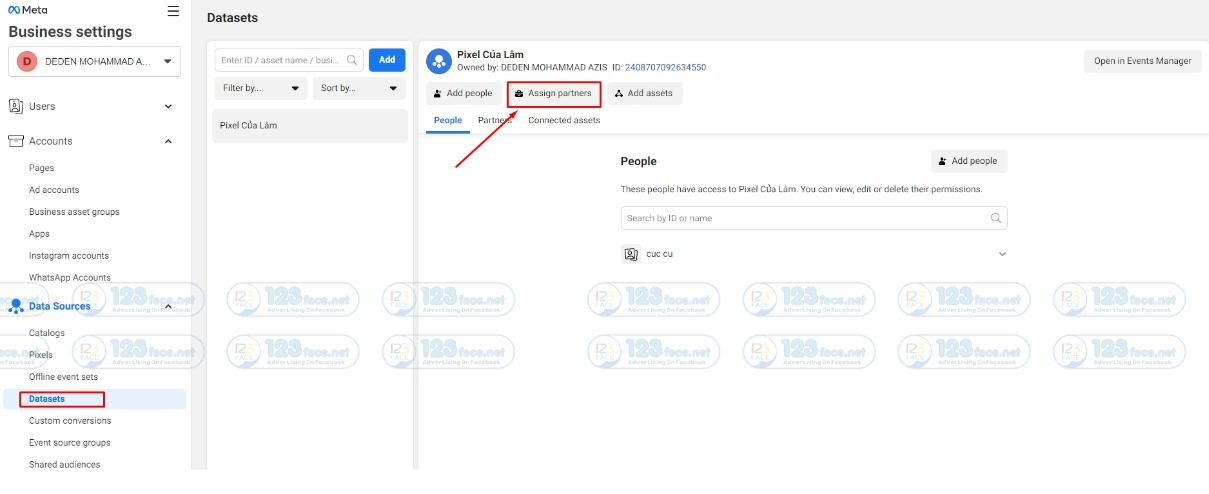
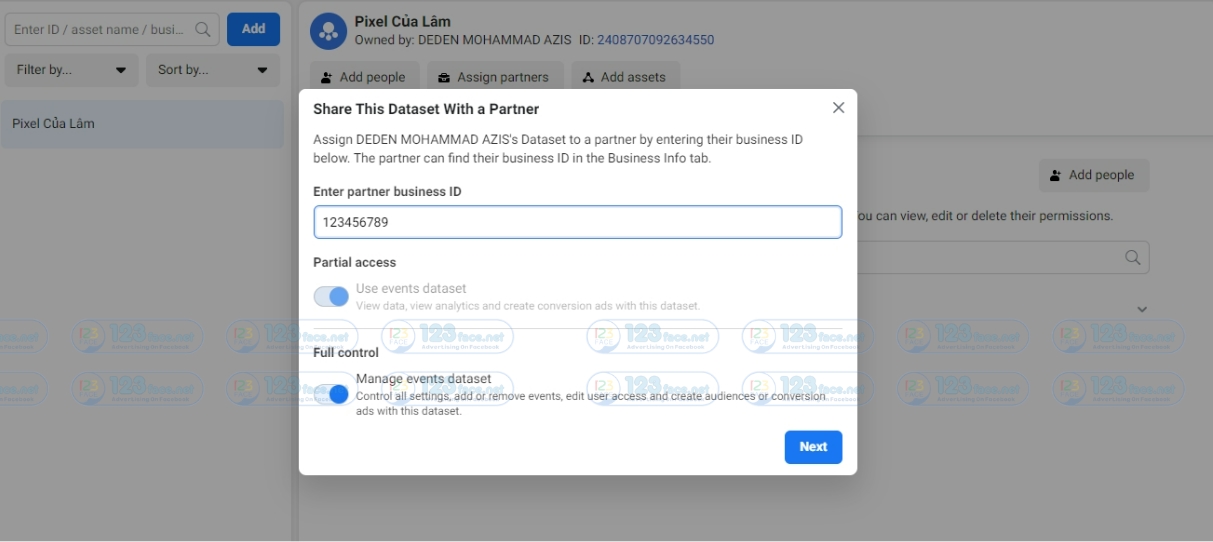
Step 4: Share Pixel with Partners
- If you want to share with another partner, click on "Assign Partners."
- You'll need the partner's Business Manager ID to proceed. Enter it and select the level of permission you want them to have.
Step 5: Confirm and Send Invitations
- Confirm the details and send out the invitations. Users or partners will need to accept the invitations before they can access your Pixel.
Remember, you must have administrative privileges in Business Manager to perform these steps. Sharing your Pixel enables better collaboration in managing ad campaigns and analyzing data for informed decision-making.